Welcome!
-
-
-
-
-
- LMS Home
- Core Concepts
- Companies and Departments
- Courses
- Course Status and Visibility
- Sections
- Video Activities
- Reading Activities
- Document Activities
- Enrolling People in a Course
- Bulk Enroll With CSV
- Roles in a Course
- How Progress Is Tracked
- Course Reports
- Knowledge Base Overview
- Libraries and Folders
- Uploading Content Items
- Library Visibility
- AI Agent per Library
- My Courses
- Platform People
-
-
-
- Project Structure Template
- Table of Contents (TOC)
- Content Folder
- Introduction to Markdown
- Markdown Basics
- Markdown Lists
- Markdown Links
- Markdown Images
- Markdown Code
- Markdown Tables
- Markdown Equations
- Markdown Videos
- Markdown Embedded HTML
- VS Code Snippets
- Introduction to Styles
- Custom Theme
- Framed Narrations
- Markdown Configuration
- Editor Setup
-
Tables
Tables can be a useful way to display data in a structured and organized format. Markdown provides a simple syntax to create tables that can be easily converted into HTML or other formats. In this section, we will cover the basics of creating tables in markdown and how to format them using various options available with markdown.
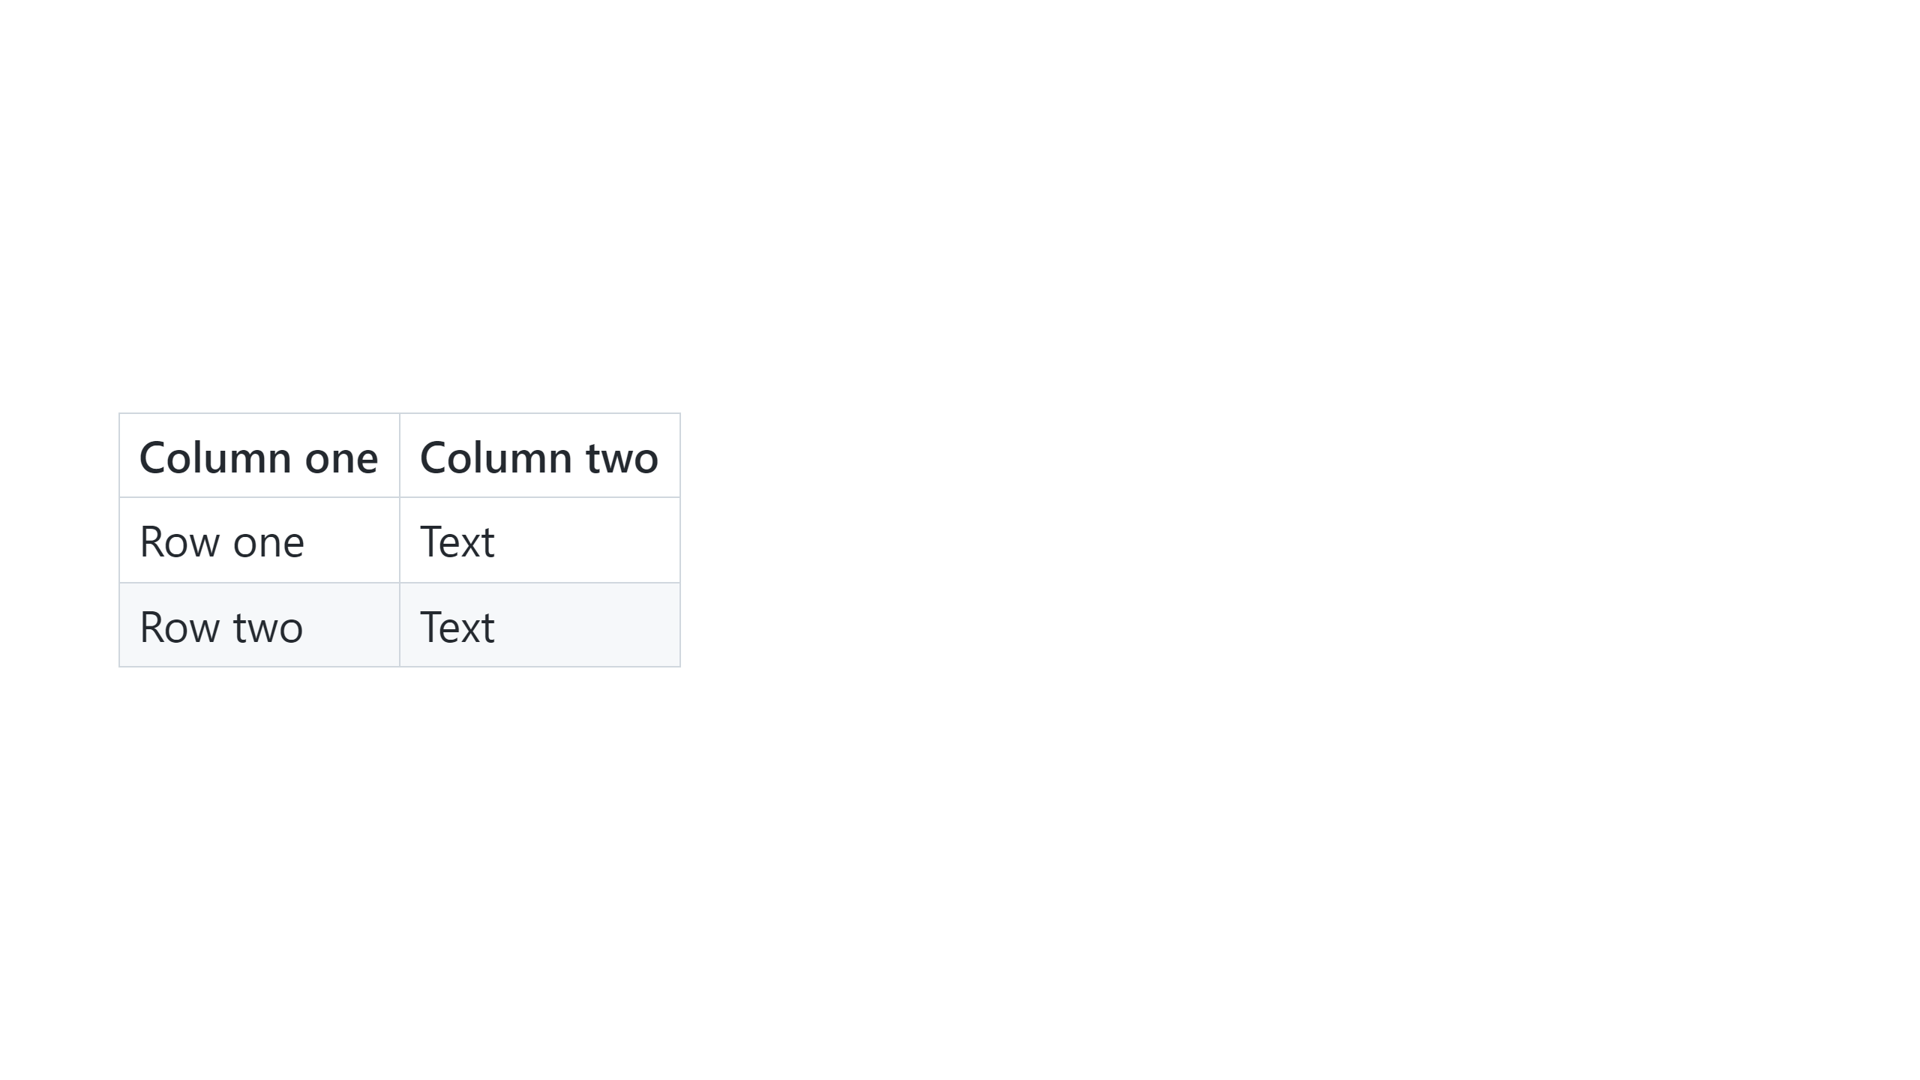
Adding a Table
To add a table, use three or more hyphens to create each column's header, and use pipes to separate each column. For compatibility, you should also add a pipe on either end of the row.
| Column one    | Column two    |
| ------------- | ------------- |
| Row one       | Text          |
| Row two       | Text          |
Cell Widths
Cell widths can vary, as shown below. The rendered output will look the same.
Column one | Column two
--- | ---
Row one | Text
Row tow | Text
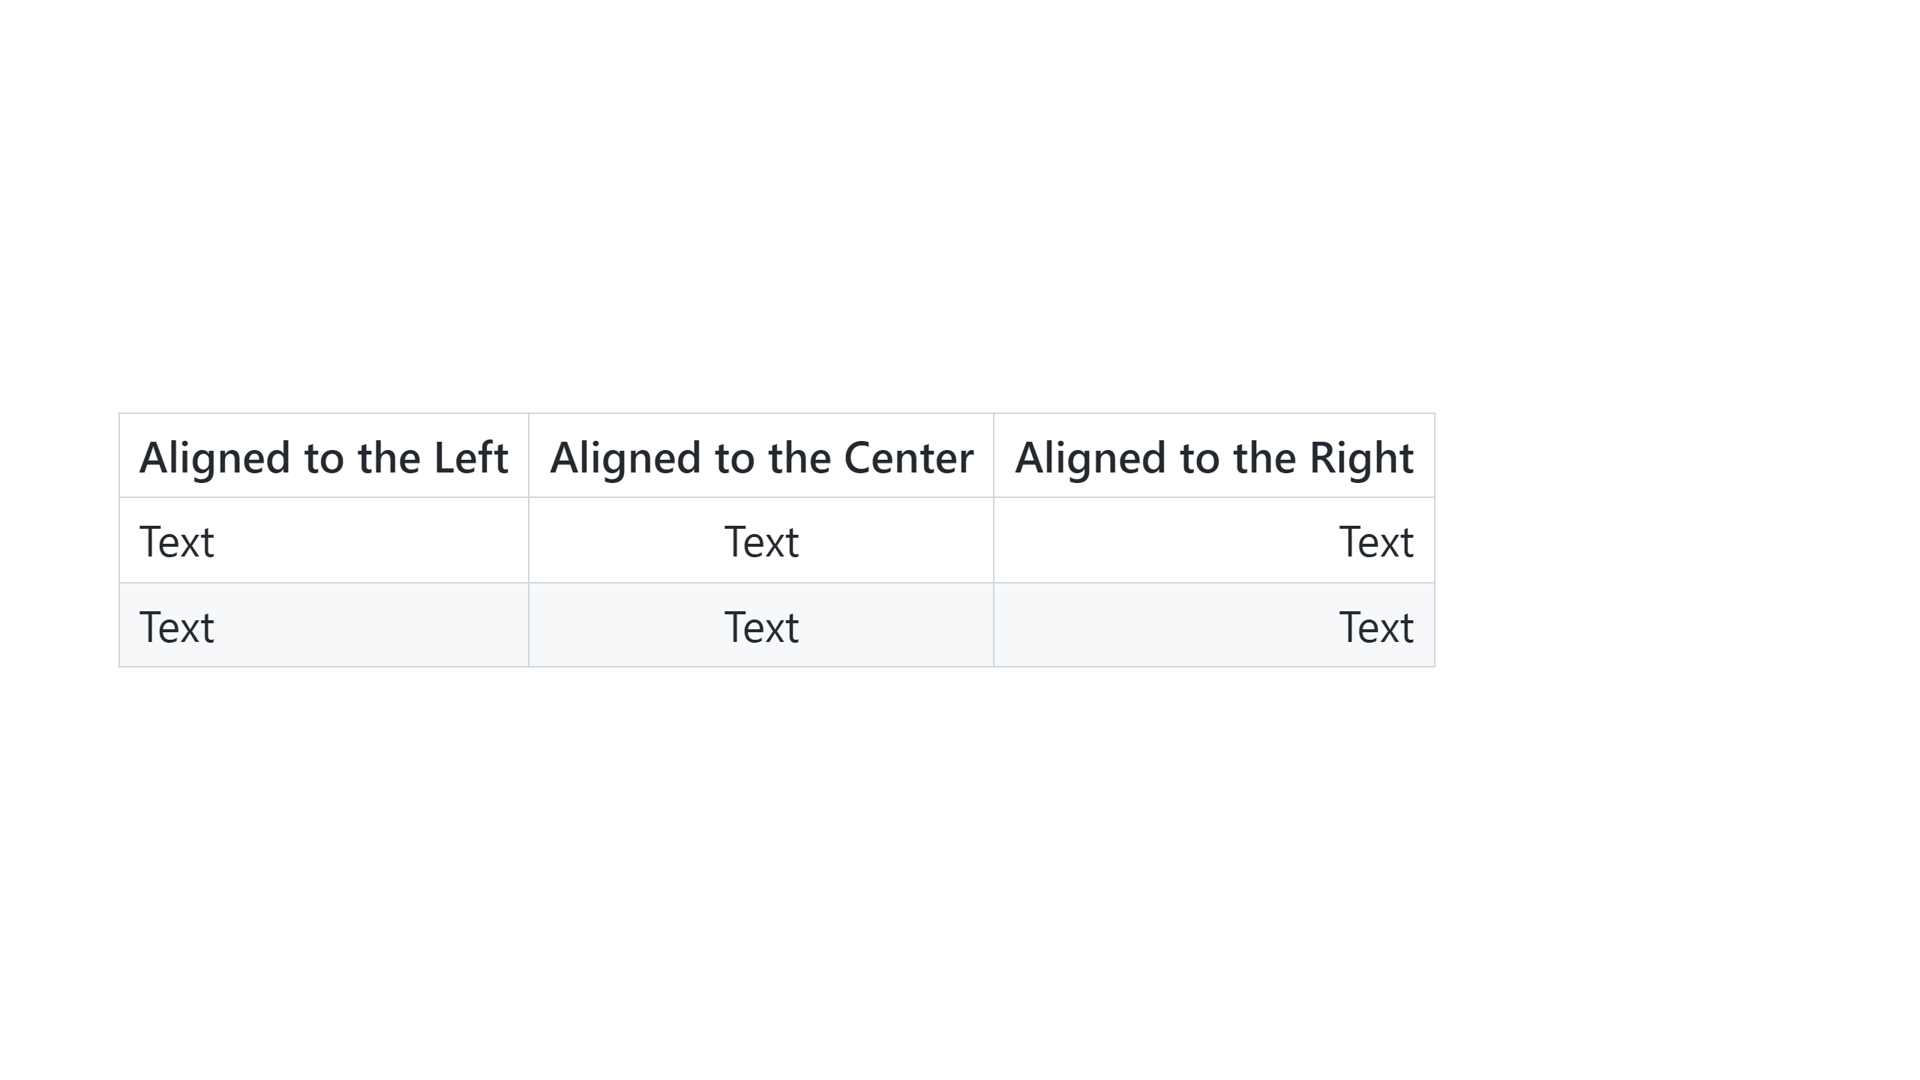
Text Alignment
You can align text in the columns to the left, right, or center by adding a colon to the left, right, or on both sides of the hyphens within the header row.
| Aligned to the Left | Aligned to the Center | Aligned to the Right |
| :---                |        :----:         |                 ---: |
| Text                | Text                  | Text                 |
| Text                | Text                  | Text                 |