Welcome!
-
-
- Learn Home
- Core Concepts
- Companies and Departments
- Courses
- Course Status and Visibility
- Sections
- Video Activities
- Reading Activities
- Document Activities
- Enrolling People in a Course
- Bulk Enroll With CSV
- Roles in a Course
- How Progress Is Tracked
- Course Reports
- Knowledge Base Overview
- Libraries and Folders
- Uploading Content Items
- Library Visibility
- AI Agent per Library
- My Courses
- Platform People
-
- Project Structure Template
- Table of Contents (TOC)
- Content Folder
- Introduction to Markdown
- Markdown Basics
- Markdown Lists
- Markdown Links
- Markdown Images
- Markdown Code
- Markdown Tables
- Markdown Equations
- Markdown Videos
- Markdown Embedded HTML
- VS Code Snippets
- Introduction to Styles
- Framed Narrations
- Markdown Configuration
- Editor Setup
-
Generate Narration From PowerPoint
TL;DR; Upload a .pptx file with no narrations at lupo.ai/projects/aislidenarrations — it's PowerPoint → Narration in the Create menu. Lupo reads your slides and fills in the speaker notes with a professional draft script. Review, tweak, and use the output as the input to Create Video From PowerPoint.
Writing narration is the slowest part of making a training video. You know what you want to say — you just don't want to type it out, slide by slide, for 40 slides. This tool solves exactly that.
When to use this tool
Use PowerPoint → Narration when:
- Your slides exist, but the speaker notes are empty (or placeholder-y).
- You want a first draft you can edit, not a finished one.
- You want to nudge the AI toward a specific tone (executive, training, sales, longer narrative, etc.).
The output is a new .pptx file with the same slides, plus AI-generated narrations in the notes area. You can then feed that file into Create Video From PowerPoint to actually produce the video.
Step 1 — Open the tool
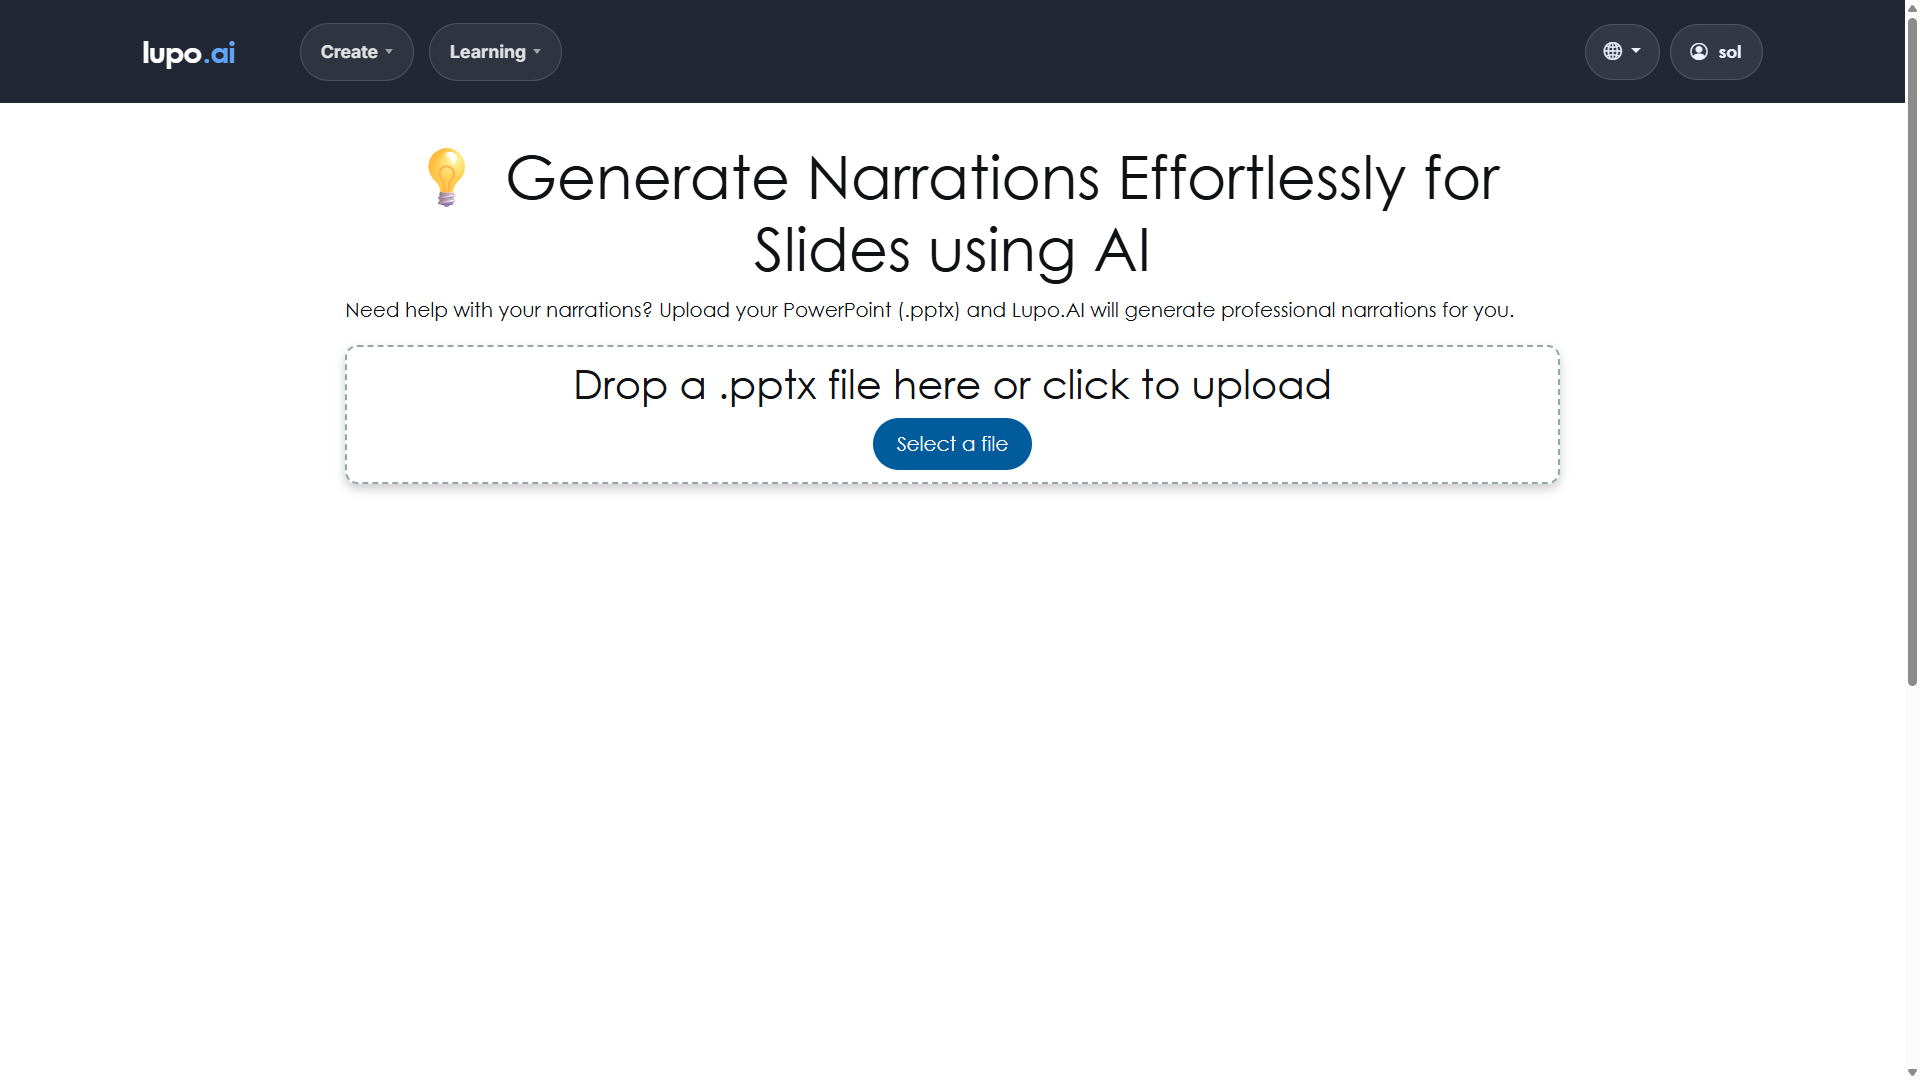
Go to lupo.ai/projects/aislidenarrations. The page is titled Generate Narrations Effortlessly for Slides using AI and you'll also find it in the Create menu as PowerPoint → Narration.
The page shows three steps across the top — Upload, Configure, Submit & track — and a single drop area.
Step 2 — Drop your PowerPoint
Drag a .pptx onto the drop area (or click Select a file). Nothing uploads yet: picking the file opens a settings dialog where you choose the model and the options below. The upload only starts when you click Confirm at the bottom of that dialog; Cancel closes it and forgets the file.
Step 3 — Pick a model
The first control in the dialog is Choose model:. Three options are available to you:
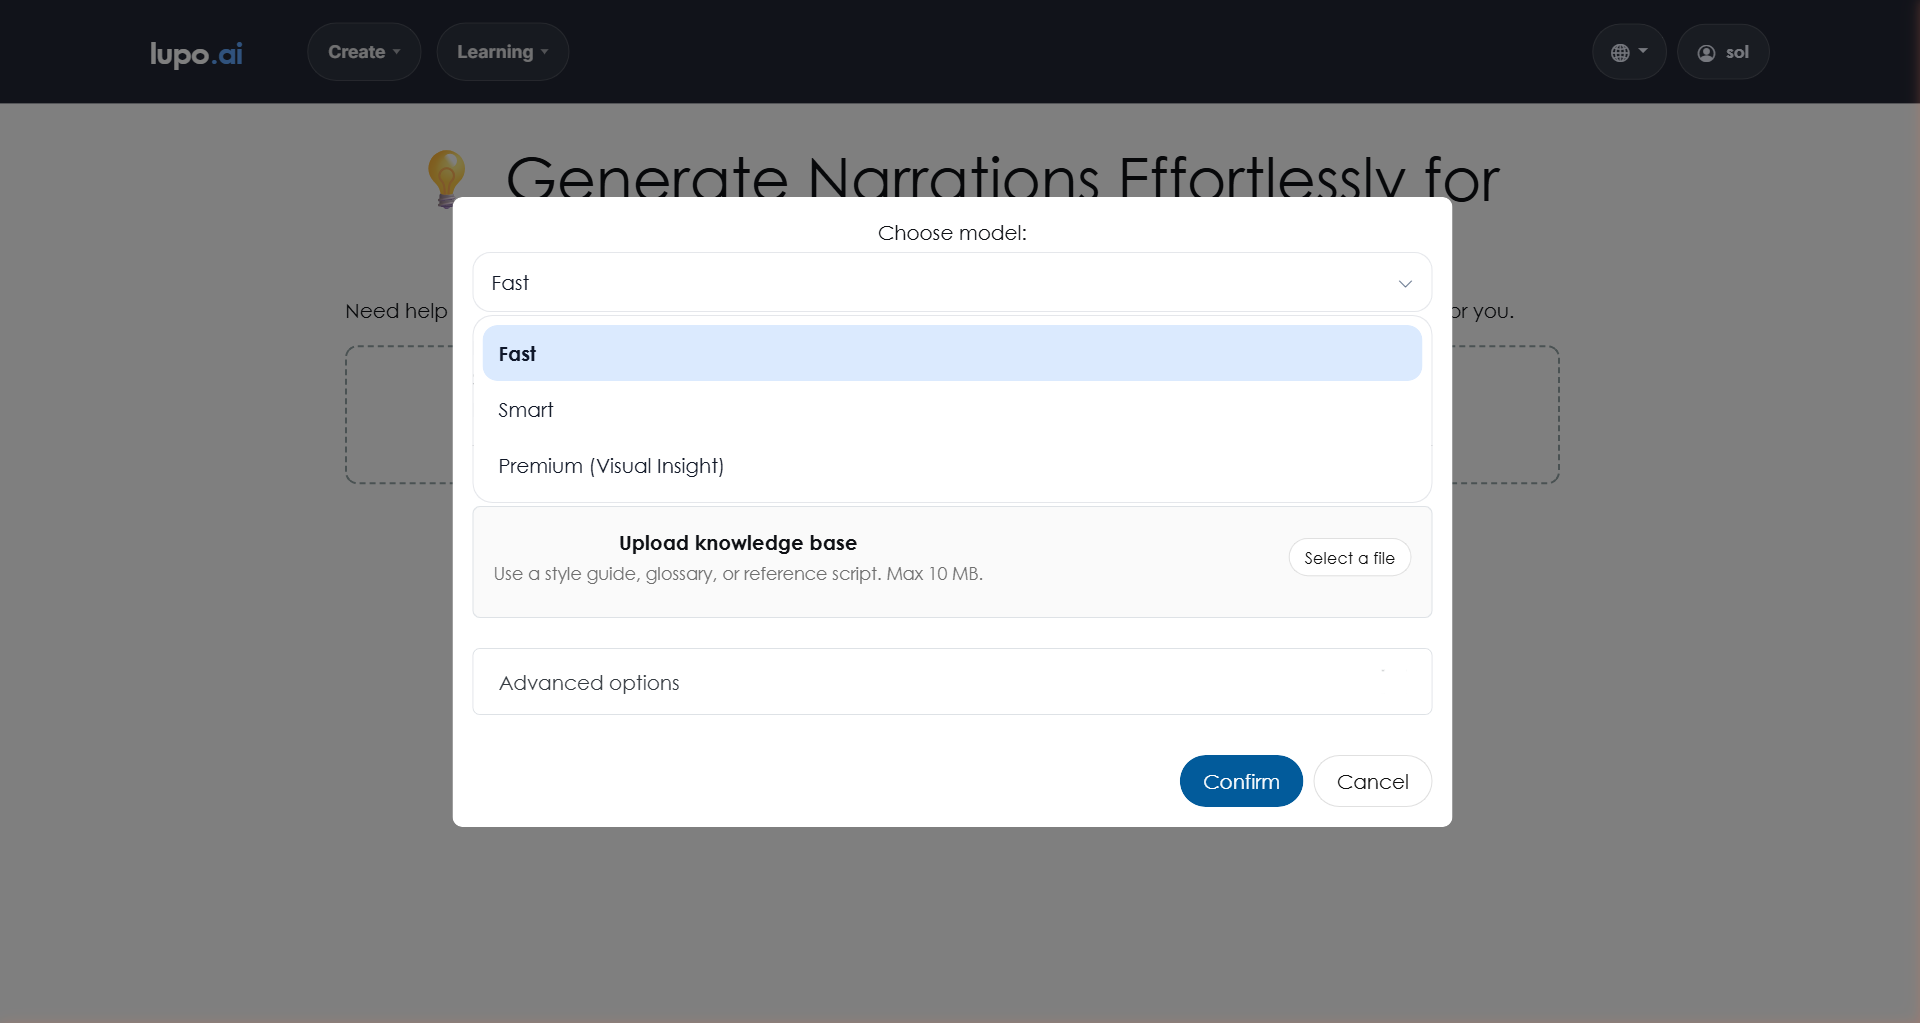
- Standard — "Best quality — recommended for most presentations." This is what's selected when the dialog opens, and the one most people should start with.
- Fast — "Faster processing, slightly lower quality." Good for a first pass when you just want something on the page.
- Premium (Visual Insight) — "Analyzes slides as images for richer narrations, slower and more intensive." This is the one to pick when your slides rely heavily on diagrams, charts, or screenshots, because the model literally "looks" at them. It writes the best narration when the visuals carry the meaning.
Lupo platform administrators see a fourth option, Enterprise; it isn't offered to customer accounts.
Step 4 — (Optional) Upload a knowledge base
If you have a style guide, glossary, or reference script you want Lupo to follow, drop it in the Optional knowledge base (PDF/TXT/MD) area (Upload knowledge base → Select a file). Accepted formats: .pdf, .txt, .md, up to 10 MB.
This is the best way to teach Lupo your terminology. If your organization calls something a "retro" instead of a "retrospective," put that in the knowledge base and Lupo will use the right word.
Step 5 — (Optional) Advanced options: language and tone
Below the knowledge base is an Advanced options switch ("Turn on to customize language and narration style. Stays off unless you select it."). Everything in this step lives inside that switch: if you leave it off, the language stays on Auto and no prompt is sent, even if you typed one earlier.
Turn it on and you'll see two things:
Preferred language. The default is Auto (infer from slides/prompt), which is almost always right. But if your deck is in one language and you want the narration in another, pick the target language here. The options are English (EN), Spanish (ES), Portuguese (PT), French (FR), German (DE), Italian (IT), Japanese (JP), Chinese (CN), Hindi (IN), and Arabic (SA).
Personalize narrations (optional). A short prompt (up to 600 characters) telling Lupo how to shape the tone, audience, and style. For example:
Executive-friendly: 3-5 sentences per slide. Clear and concise. Define acronyms on first use.
You don't have to write this from scratch. Under Templates (replace current text):, Lupo gives you one-click presets:
- Default — executive-friendly, 3 to 5 sentences per slide.
- Executive concise — 2 to 3 sentences per slide, outcome-focused.
- Stakeholder update — status update with impact, risks, and next milestones.
- Sales pitch (CTA) — customer value and a clear call to action.
- Training / How-to — step-by-step explanation in plain language.
- Longer narrative — 5 to 7 sentences per slide with more context and examples.
Click the template you want, edit the prompt if you'd like to tweak it, and move on. You can undo template changes with Undo (or Ctrl+Z).
Step 6 — Confirm
Click Confirm. The page reports progress under the drop area: Uploading knowledge base... (only if you attached one), then Uploading presentation..., then Uploaded. Starting voice-over generation..., and finally Narration generation started. You'll receive an email once it's ready.
Close the tab. You'll get an email when it's done.
Step 7 — Review and iterate
When the email arrives, you'll get back a .pptx with the same slides, but now the notes are filled in with Lupo's draft narration. Open it in PowerPoint and read through the notes:
- Leave what's good alone. Most of it probably is.
- Rewrite anything that sounds wrong. Specific product names, numbers, or one-liners you want exactly right are worth touching up.
- Check the acronyms. If Lupo expanded one that shouldn't be expanded (or didn't expand one that should be), fix it.
When you're happy, upload the result to Create Video From PowerPoint to turn it into a finished video.
Where to go next
- Create Video From PowerPoint — turn the generated narration into a video.
- Voices and Languages — customize the narrator that will read your new notes.