Welcome!
-
-
- Learn Home
- Core Concepts
- Companies and Departments
- Courses
- Course Status and Visibility
- Sections
- Video Activities
- Reading Activities
- Document Activities
- Enrolling People in a Course
- Bulk Enroll With CSV
- Roles in a Course
- How Progress Is Tracked
- Course Reports
- Knowledge Base Overview
- Libraries and Folders
- Uploading Content Items
- Library Visibility
- AI Agent per Library
- My Courses
- Platform People
-
- Project Structure Template
- Table of Contents (TOC)
- Content Folder
- Introduction to Markdown
- Markdown Basics
- Markdown Lists
- Markdown Links
- Markdown Images
- Markdown Code
- Markdown Tables
- Markdown Equations
- Markdown Videos
- Markdown Embedded HTML
- VS Code Snippets
- Introduction to Styles
- Framed Narrations
- Markdown Configuration
- Editor Setup
-
Your First Video From PowerPoint
TL;DR; Grab a PowerPoint deck, put a short narration in the speaker notes of each slide, upload it at lupo.ai/projects/slides, pick a voice in the Select Voice Type dialog, click Confirm, and wait for the email with your video. Total time: about ten minutes for a short deck.
This page walks you through your very first video. If you've never used Lupo before, start here.
1. Pick a deck you already have
You don't need a perfect presentation. You need one you know well. Pick something small — 5 to 15 slides — that you could already explain out loud to a coworker. A team onboarding deck, a product walkthrough, an SOP summary, a piece of a training you've given before. That's the sweet spot.
If you don't have one handy, download any deck from your shared drive and use it — or use the sample deck the upload page offers (the this sample link under How it works), which already has narration in its notes.
2. Add narrations in the speaker notes
Open the PowerPoint file. For each slide, write a short paragraph in the speaker notes area at the bottom of PowerPoint. That paragraph is what Lupo will narrate.
A few tips that make a big difference:
- Write the way you'd speak it. If it would sound weird out loud, it will sound weird in the video. Short sentences beat long ones.
- One idea per slide. The narration should explain the idea on the slide, not cover three unrelated ones.
- Skip the jargon. If your learner is new, define terms the first time you use them.
- Aim for 30–90 seconds per slide. Longer than that and learners tune out. Shorter than that and the video feels choppy.
You don't have to get this perfect. If you want Lupo to draft the narration for you instead, you can skip this step: the upload dialog in the next step has Generate voice-over if no notes are found ticked by default, so slides without notes get a narration written for them. For more control over that draft, see Generate Narration From PowerPoint.
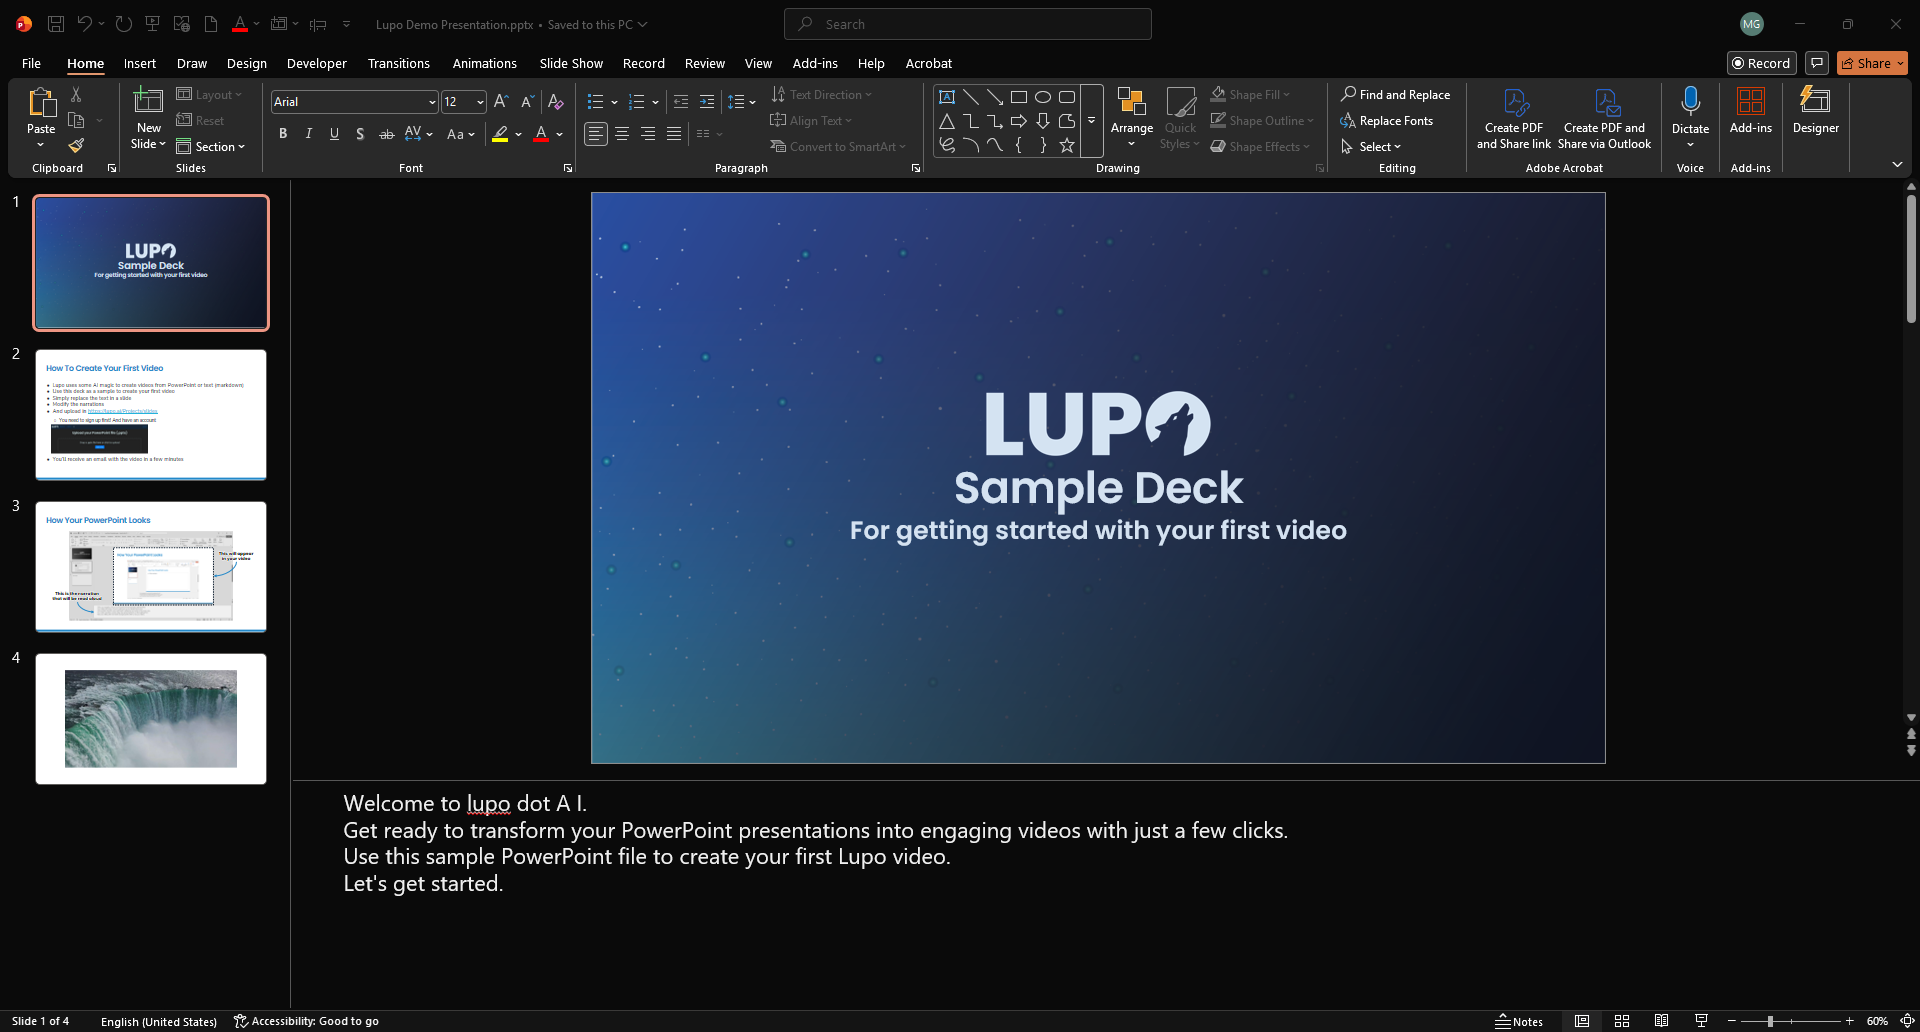
3. Upload the file to Lupo
Go to lupo.ai/projects/slides (in the app it's the Create menu → PowerPoint → Video), sign in, and drag your .pptx file onto Drop a .pptx file here or click to upload — or click Select a file. One file at a time; only .pptx is accepted.
There is no project name to type and no Create button. As soon as the file is accepted, the Select Voice Type dialog opens:
- Choose a voice: pick a narrator. Every account gets the Standard voices; a Choose voice type picker appears above it only if your account also has Premium or Enterprise voices.
- Translated subtitles (optional): leave empty for now. Subtitles in the narration language are always included; this list only adds translated tracks.
- Narration Speed (1.0 = normal): leave it at 1.0.
- Generate voice-over if no notes are found: on by default — leave it on.
- Optional Additional Emails: anyone else who should receive the finished video.
Click Confirm. The dialog shows Uploading… while the file goes up, and the page then confirms with Video generation started. You'll receive an email with the results in a few minutes. and lists your Uploaded File. Wait for that message before closing the tab — once you see it, the rest happens on Lupo's side.
If your account has a project, the page says Uploads will be saved to project: with its name — the video is filed there for you; you don't pick anything.
4. Wait for the email
Depending on how long the deck is, you'll get an email from Lupo in a few minutes. Its subject starts with Lupo Video Done! and it carries links to download the video (.mp4) and its captions. It goes to your account email and to any extra addresses you typed in the dialog. The email is your signal that the video is ready.
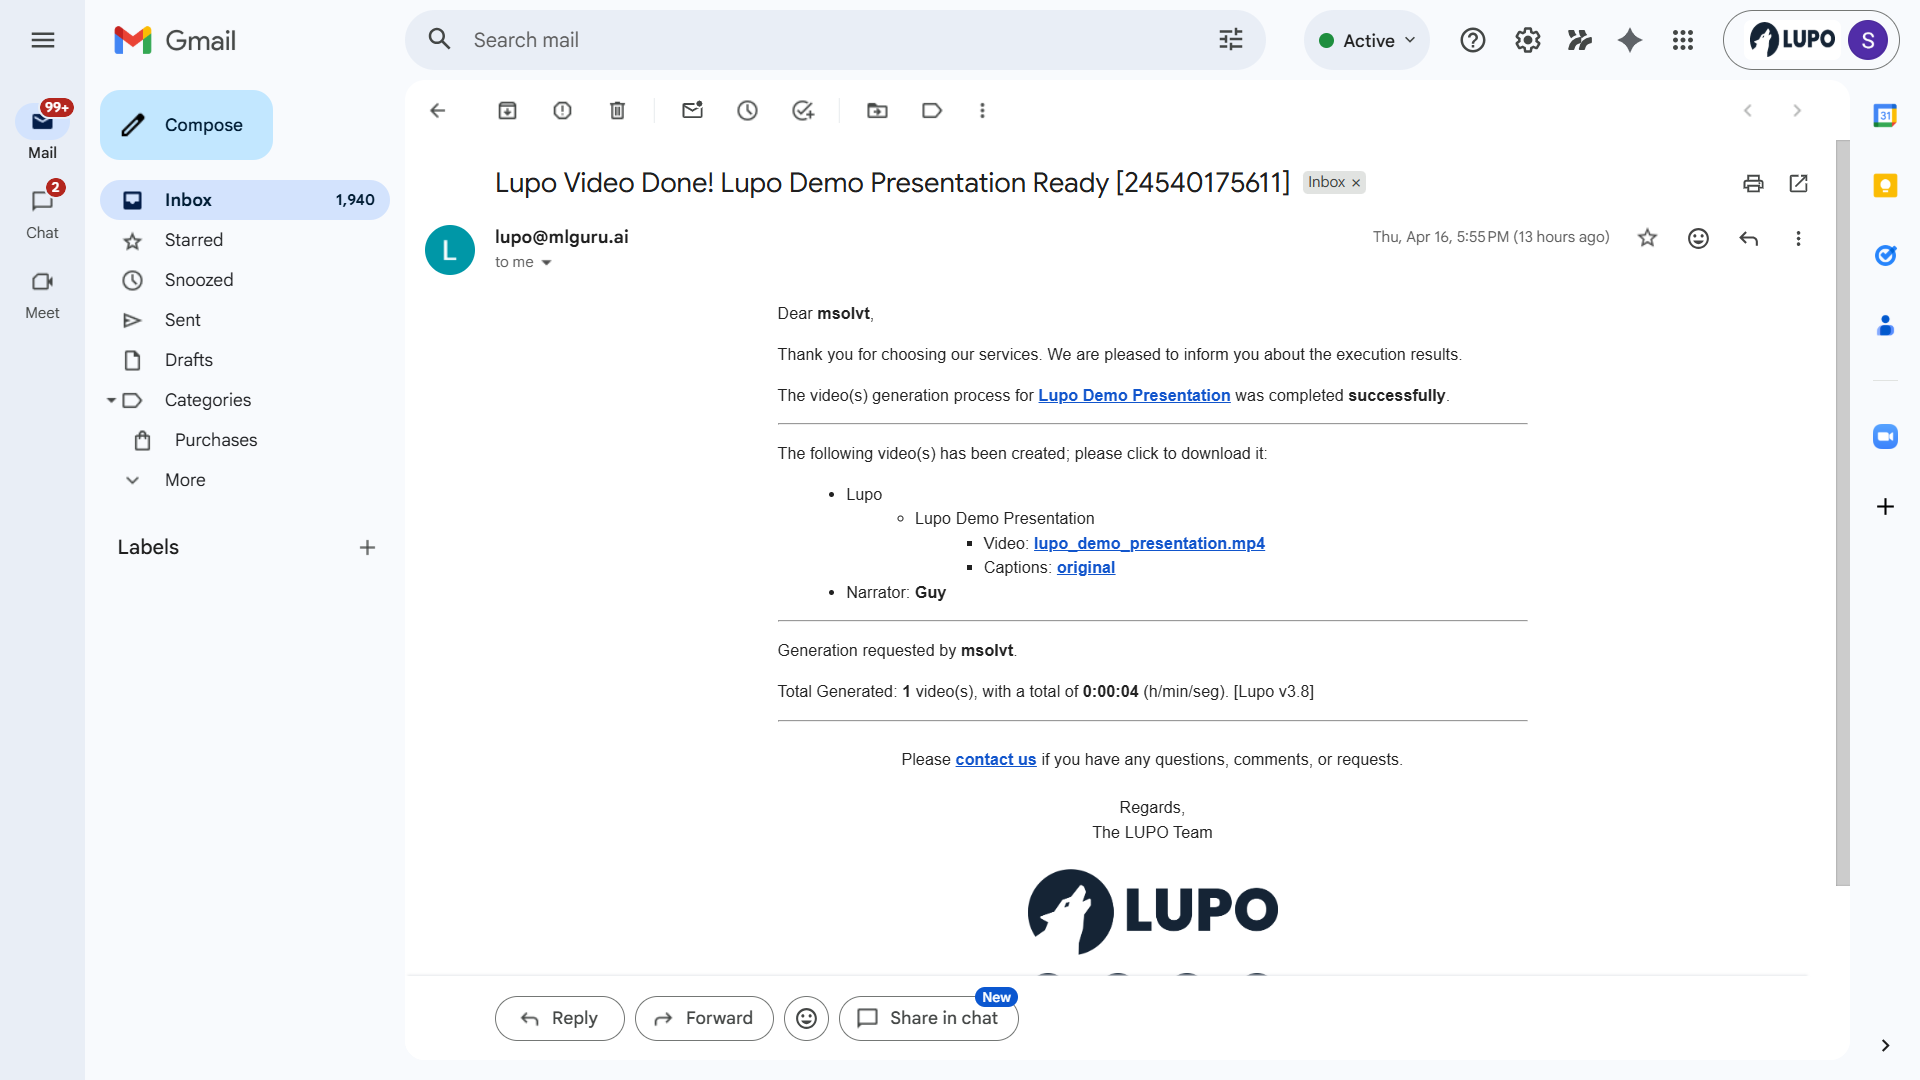
Click the video link, watch it, and see what Lupo did. The video will have each slide rendered as a scene with the narration synced underneath. If you embedded any videos inside the PowerPoint, those will play in place too.
5. What to do if it's not quite right
Two things will happen on your first video:
- You'll notice something you want to change. Great. Open the PowerPoint, fix the narration in the notes, re-upload. The second version is usually the keeper.
- You'll want a better voice, a different language, or a specific name pronounced correctly. All of that is possible. See Voices and Languages.
Next steps
Now that you've made one video, go see the other ways Lupo can do the same job:
- Three Ways to Create a Video — PowerPoint, Google Slides, or PDF
- Generate Narration From PowerPoint — let Lupo write the script for you
- Improve Audio and Narration — the Create menu calls it Re-narrate Existing Video: turn a video you already have into a transcript deck you can re-narrate